First off, I want to say I did not create this technique. It was created by a fashion/beauty blogger named Kalei Lagunero. I found an article on Daily Mail UK years ago that explained how to do this (which can be found here). My blog post today has 2 purposes–
- To get you all familiar with Kalei Lagunero’s technique.
- To tell you all that I had success in testing this technique on 3 different fabric types dealing with 3 different stains.
The 3 different garments I tested have 3 different textiles (fabrics) and 3 different price points. 2 of these garments cannot be machine washed or dry cleaned due to the nature of the fabric (only spot clean). I’m happy to say I had success in getting the stains out in all 3. But, in retrospect it was a bit reckless of me to just jump in and try the technique while running the risk of ruining the garments. Though, my recklessness ended up being able to provide you all this information so it ended up being worth it!
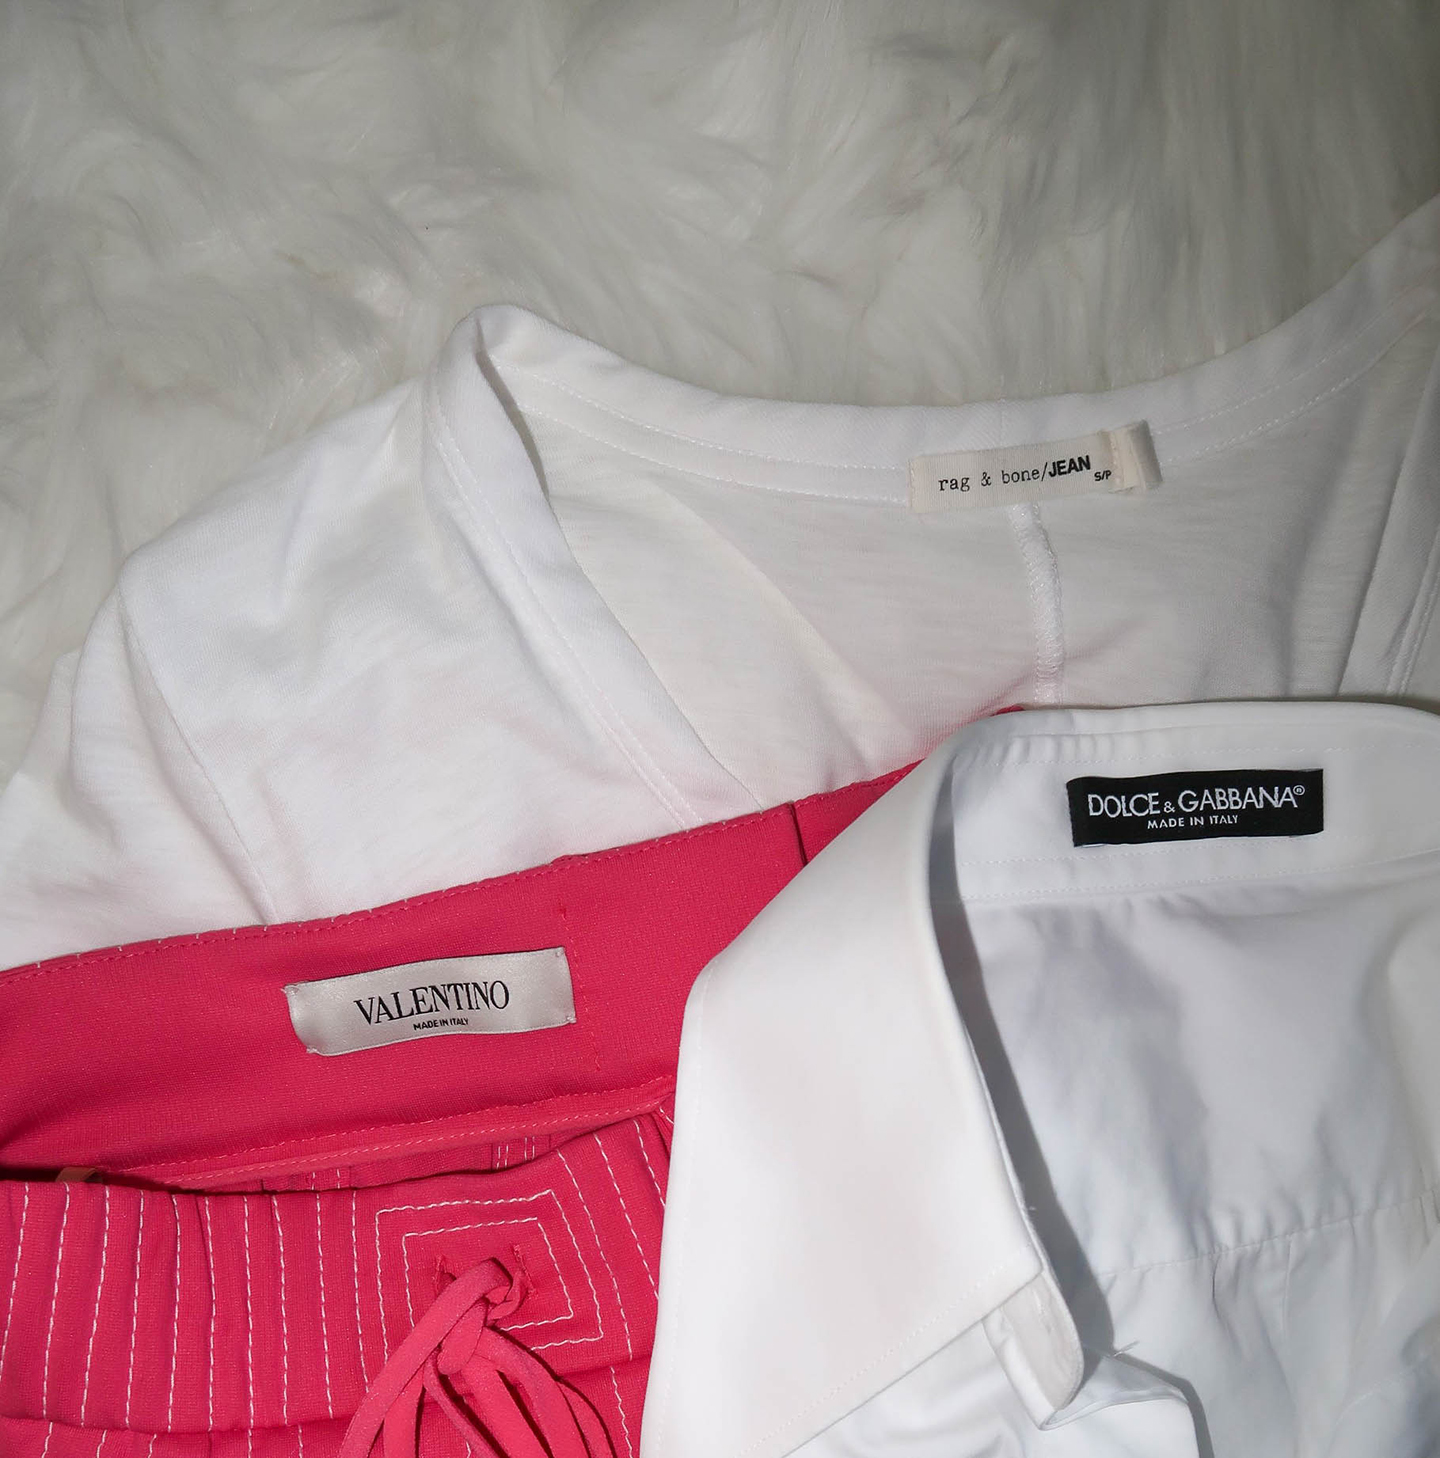
Pictured above is a white Rag & Bone t-shirt made of 100% prima cotton, and a Dolce & Gabbana poplin top that is 94% cotton and 6% Acetate. As for the Valentino skirt, strangely enough, when I purchased it the site said it is made of synthetic fabrics only (polyester and elastane). Just now when I went to go look at the tag to confirm what the textiles were exactly, I noticed on the tag it said that there is also silk in the skirt and non-textile animal components as well. Needless to say it was definitely a let down to find that out because I don’t buy clothing made with animals. Definitely a learning lesson to check your clothing tags even when the website states what it is made out of.
For reference, here is the garment information and price points for the 3 garments that Lagunero’s technique worked for successfully:
Rag & Bone t-shirt, 100% Prima Cotton, Price: $65 (ice tea stain)
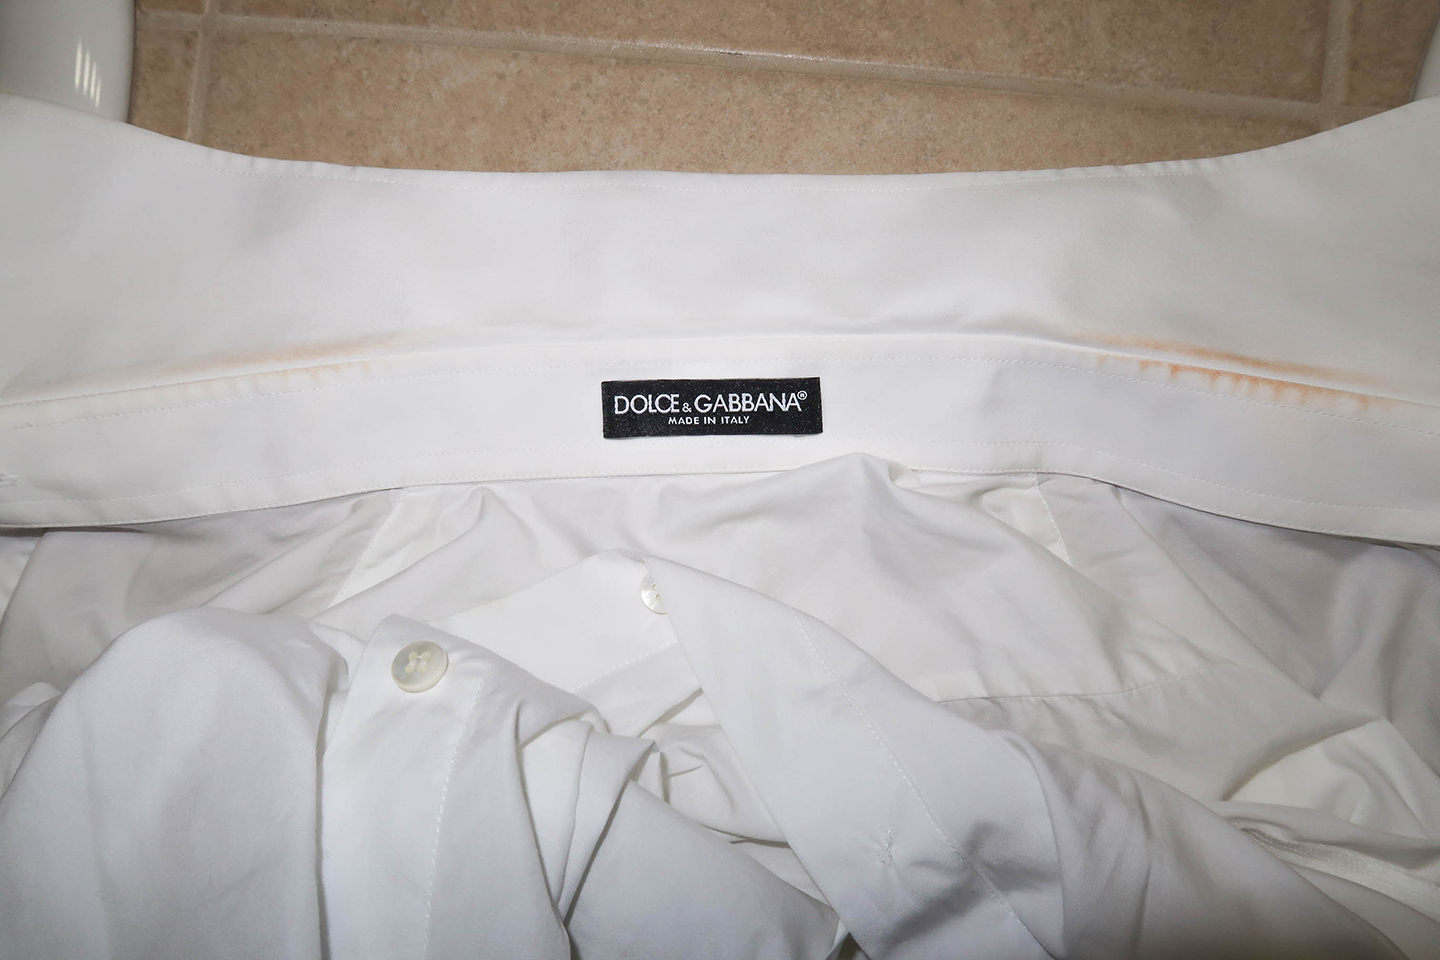
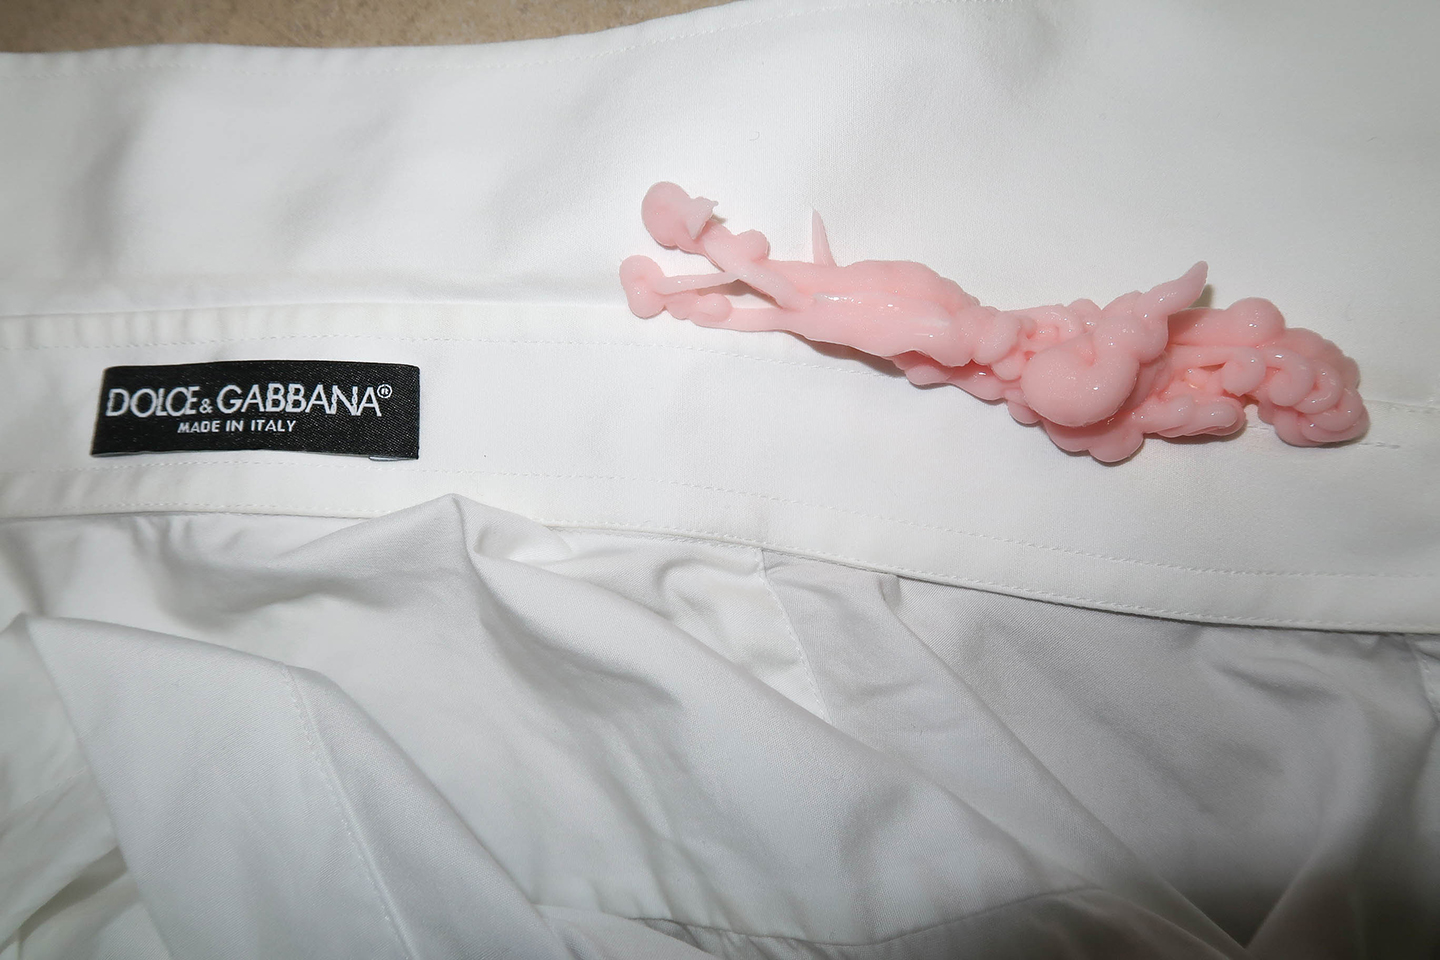
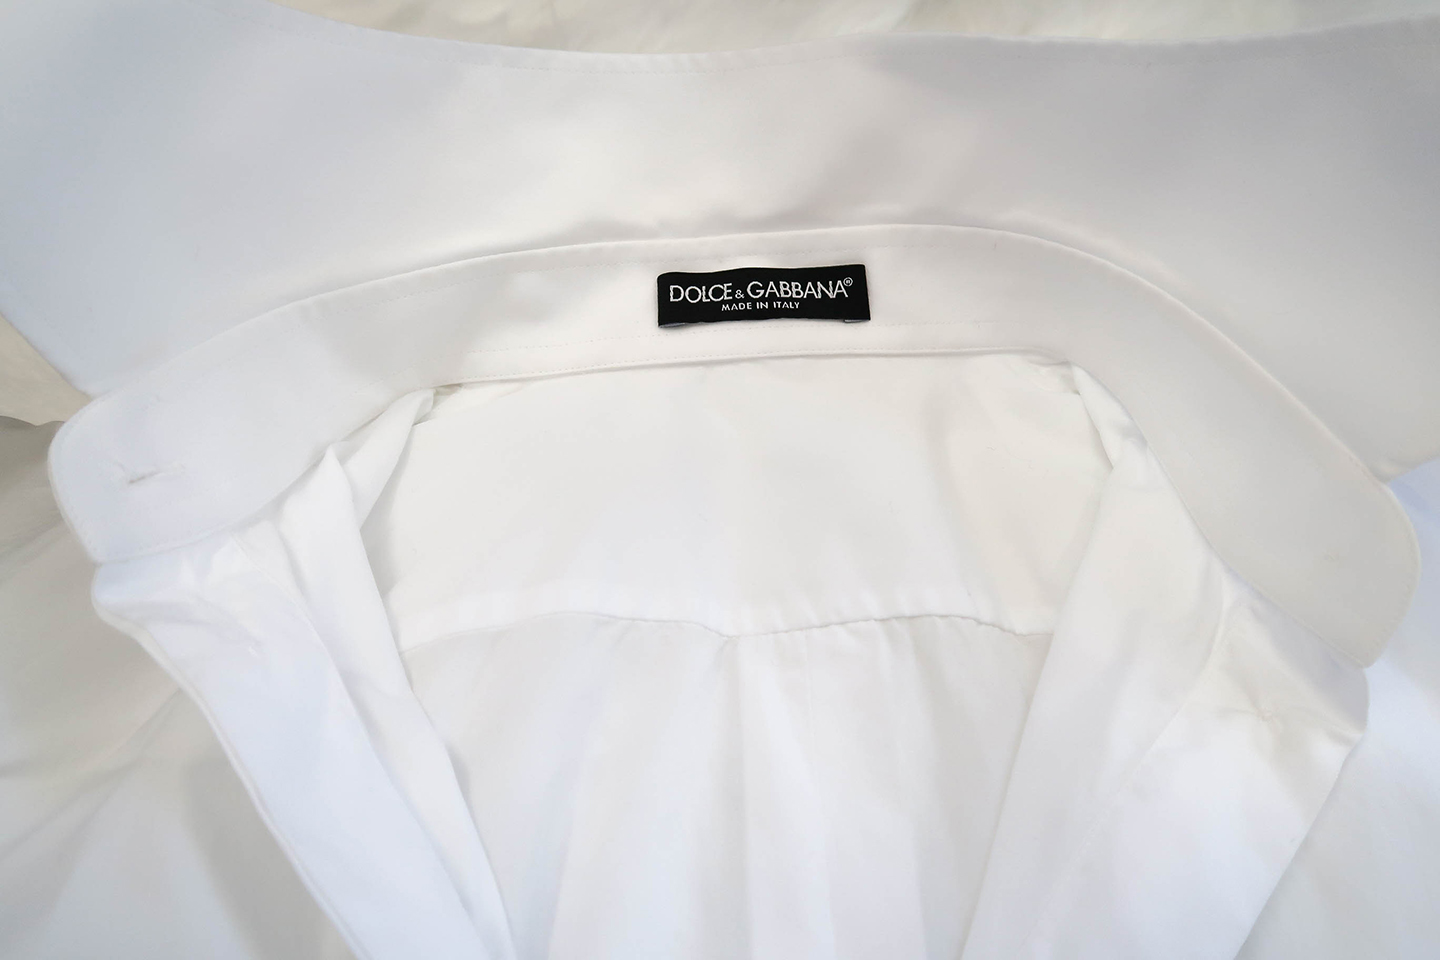
Dolce & Gabbana Poplin Top, 94% Cotton and 6% Acetate, Not Washable, Price: $495 (make up foundation stain)
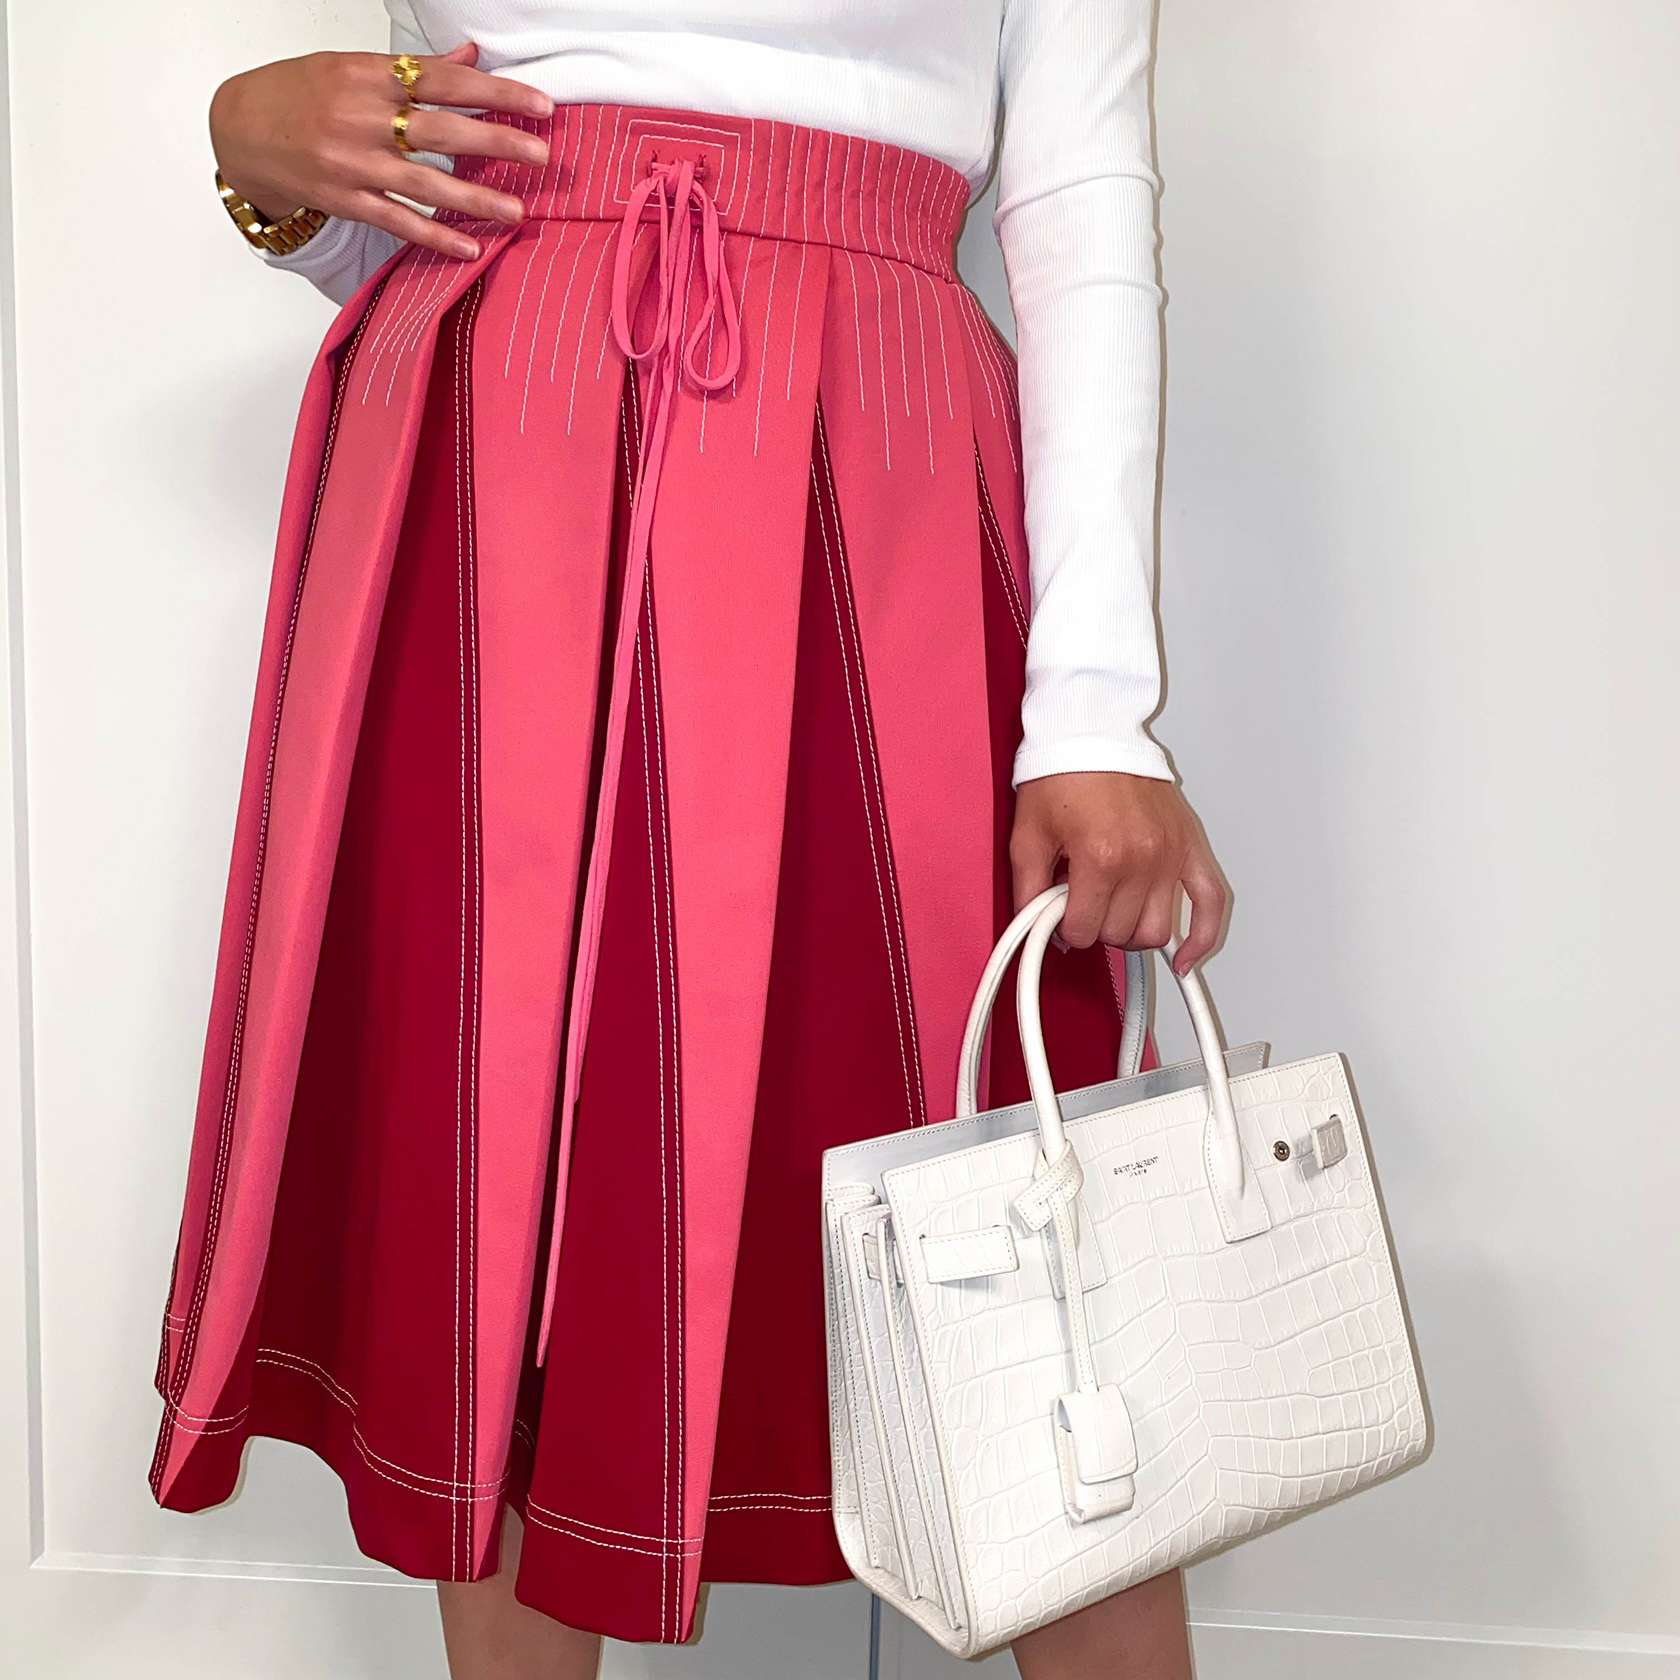
Valentino Midi Skirt, [External Fabric 1] 94% Polyester, 6% Elastane, [External Fabric 2] 100% Silk, Not Washable, Price: Bought on sale for $370, originally $1800 (chocolate stain on external fabric 1)
(By the way, the Valentino skirt is still available on sale on Yoox, which can be found here).
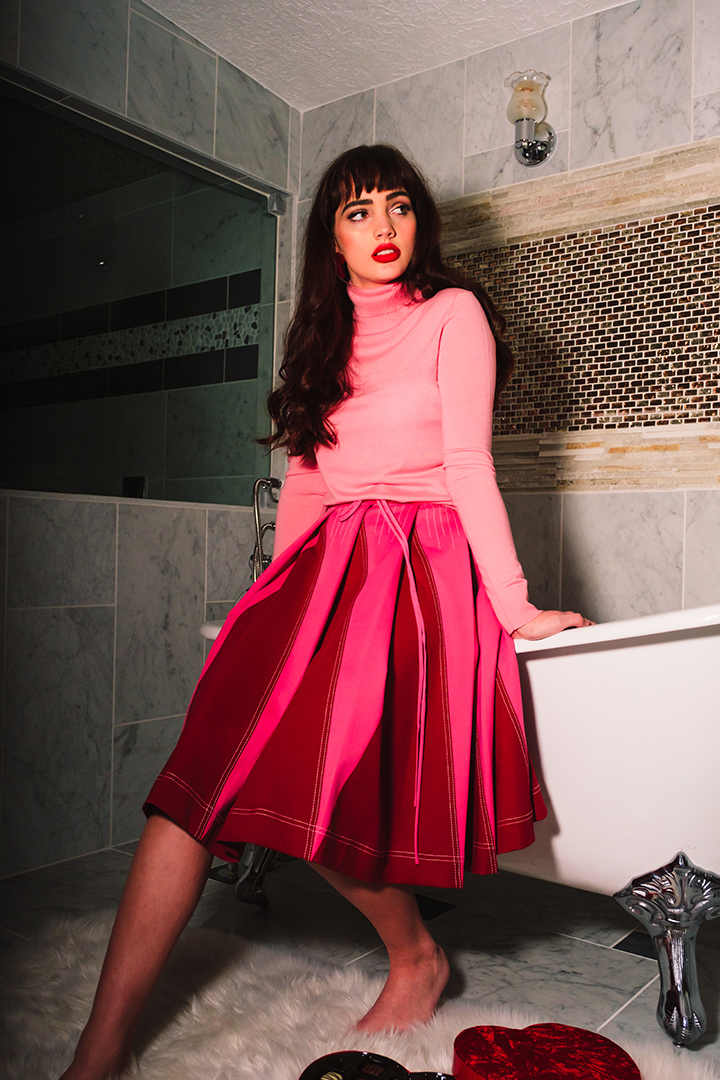
This Valentino skirt I bought on sale for my Bliss is in the Air Test-Editorial shoot. During the shoot the model was holding chocolate for pictures and unfortunately some of the chocolate ended up getting on the skirt. When I got home I saw it and immediately decided to take it to the dry cleaners. Upon further inspection I looked at the tag and saw the skirt could not be washed at all. So, instead of being reasonable and waiting to talk to the dry cleaners I frequent, I decided to use this shave cream method instead. The chocolate ended up coming off and the stain was completely gone. In retrospect I did not know the skirt was made of silk, but also the tag says only 1 of the 2 external fabrics is made of silk. It must have been the red fabric because the chocolate was on the pink fabric. Also, the pink fabric feels like a synthetic fabric so by process of elimination that would make the red fabric made of silk. I did not test this technique on the silk fabric so I can’t confirm to you if it is safe to use on silk. Though, silk is a delicate fabric so I wouldn’t recommend putting shaving cream on it. Silk can be ruined easily so it is important to keep in mind.
For my next garment, the story is I spilled unsweetened ice tea all over my Rag & Bone white t-shirt. It was definitely me being clumsy though. I was in downtown Portland and decided to get ice tea from Barista and then head to H&M. While I was in the changing room, I carelessly threw my white top on top of my ice tea and it had soaked the whole top area. Thankfully I was also wearing a cardigan that day so I was able to cover the fashion crime I had just committed (haha). When I got home I did the shaving cream method plus an extra step with Oxi Clean (see below). I’m happy to say my t-shirt made a full recovery. I was not expecting the stain to come out initially but it did. I’m so thankful for that!
And then lastly, after my “Dolce & Gabbana inspiration Outfit of the Day” post, I ended up getting make up foundation on my D&G poplin top around the collar. It was a hot day when I wore it so I am not surprised. This button up top is not machine washable or dry clean washable. This is the case sometimes when fabrics have certain qualities, or possibly to not ruin the the stiffness of the collar with interfacing, etc This isn’t the first time I’ve gotten foundation on this top and this technique has never failed me so I wanted to share it with you all.
All you need for this technique is shaving cream, cold water, and hot water. I’m going to break it down how I did it step by step!

STEP 1:
Spray shaving cream on stain (make sure to cover the whole stain) and let it sit for 2 minutes. I put the shaving cream on both stains but here is a close up of one of the stains:
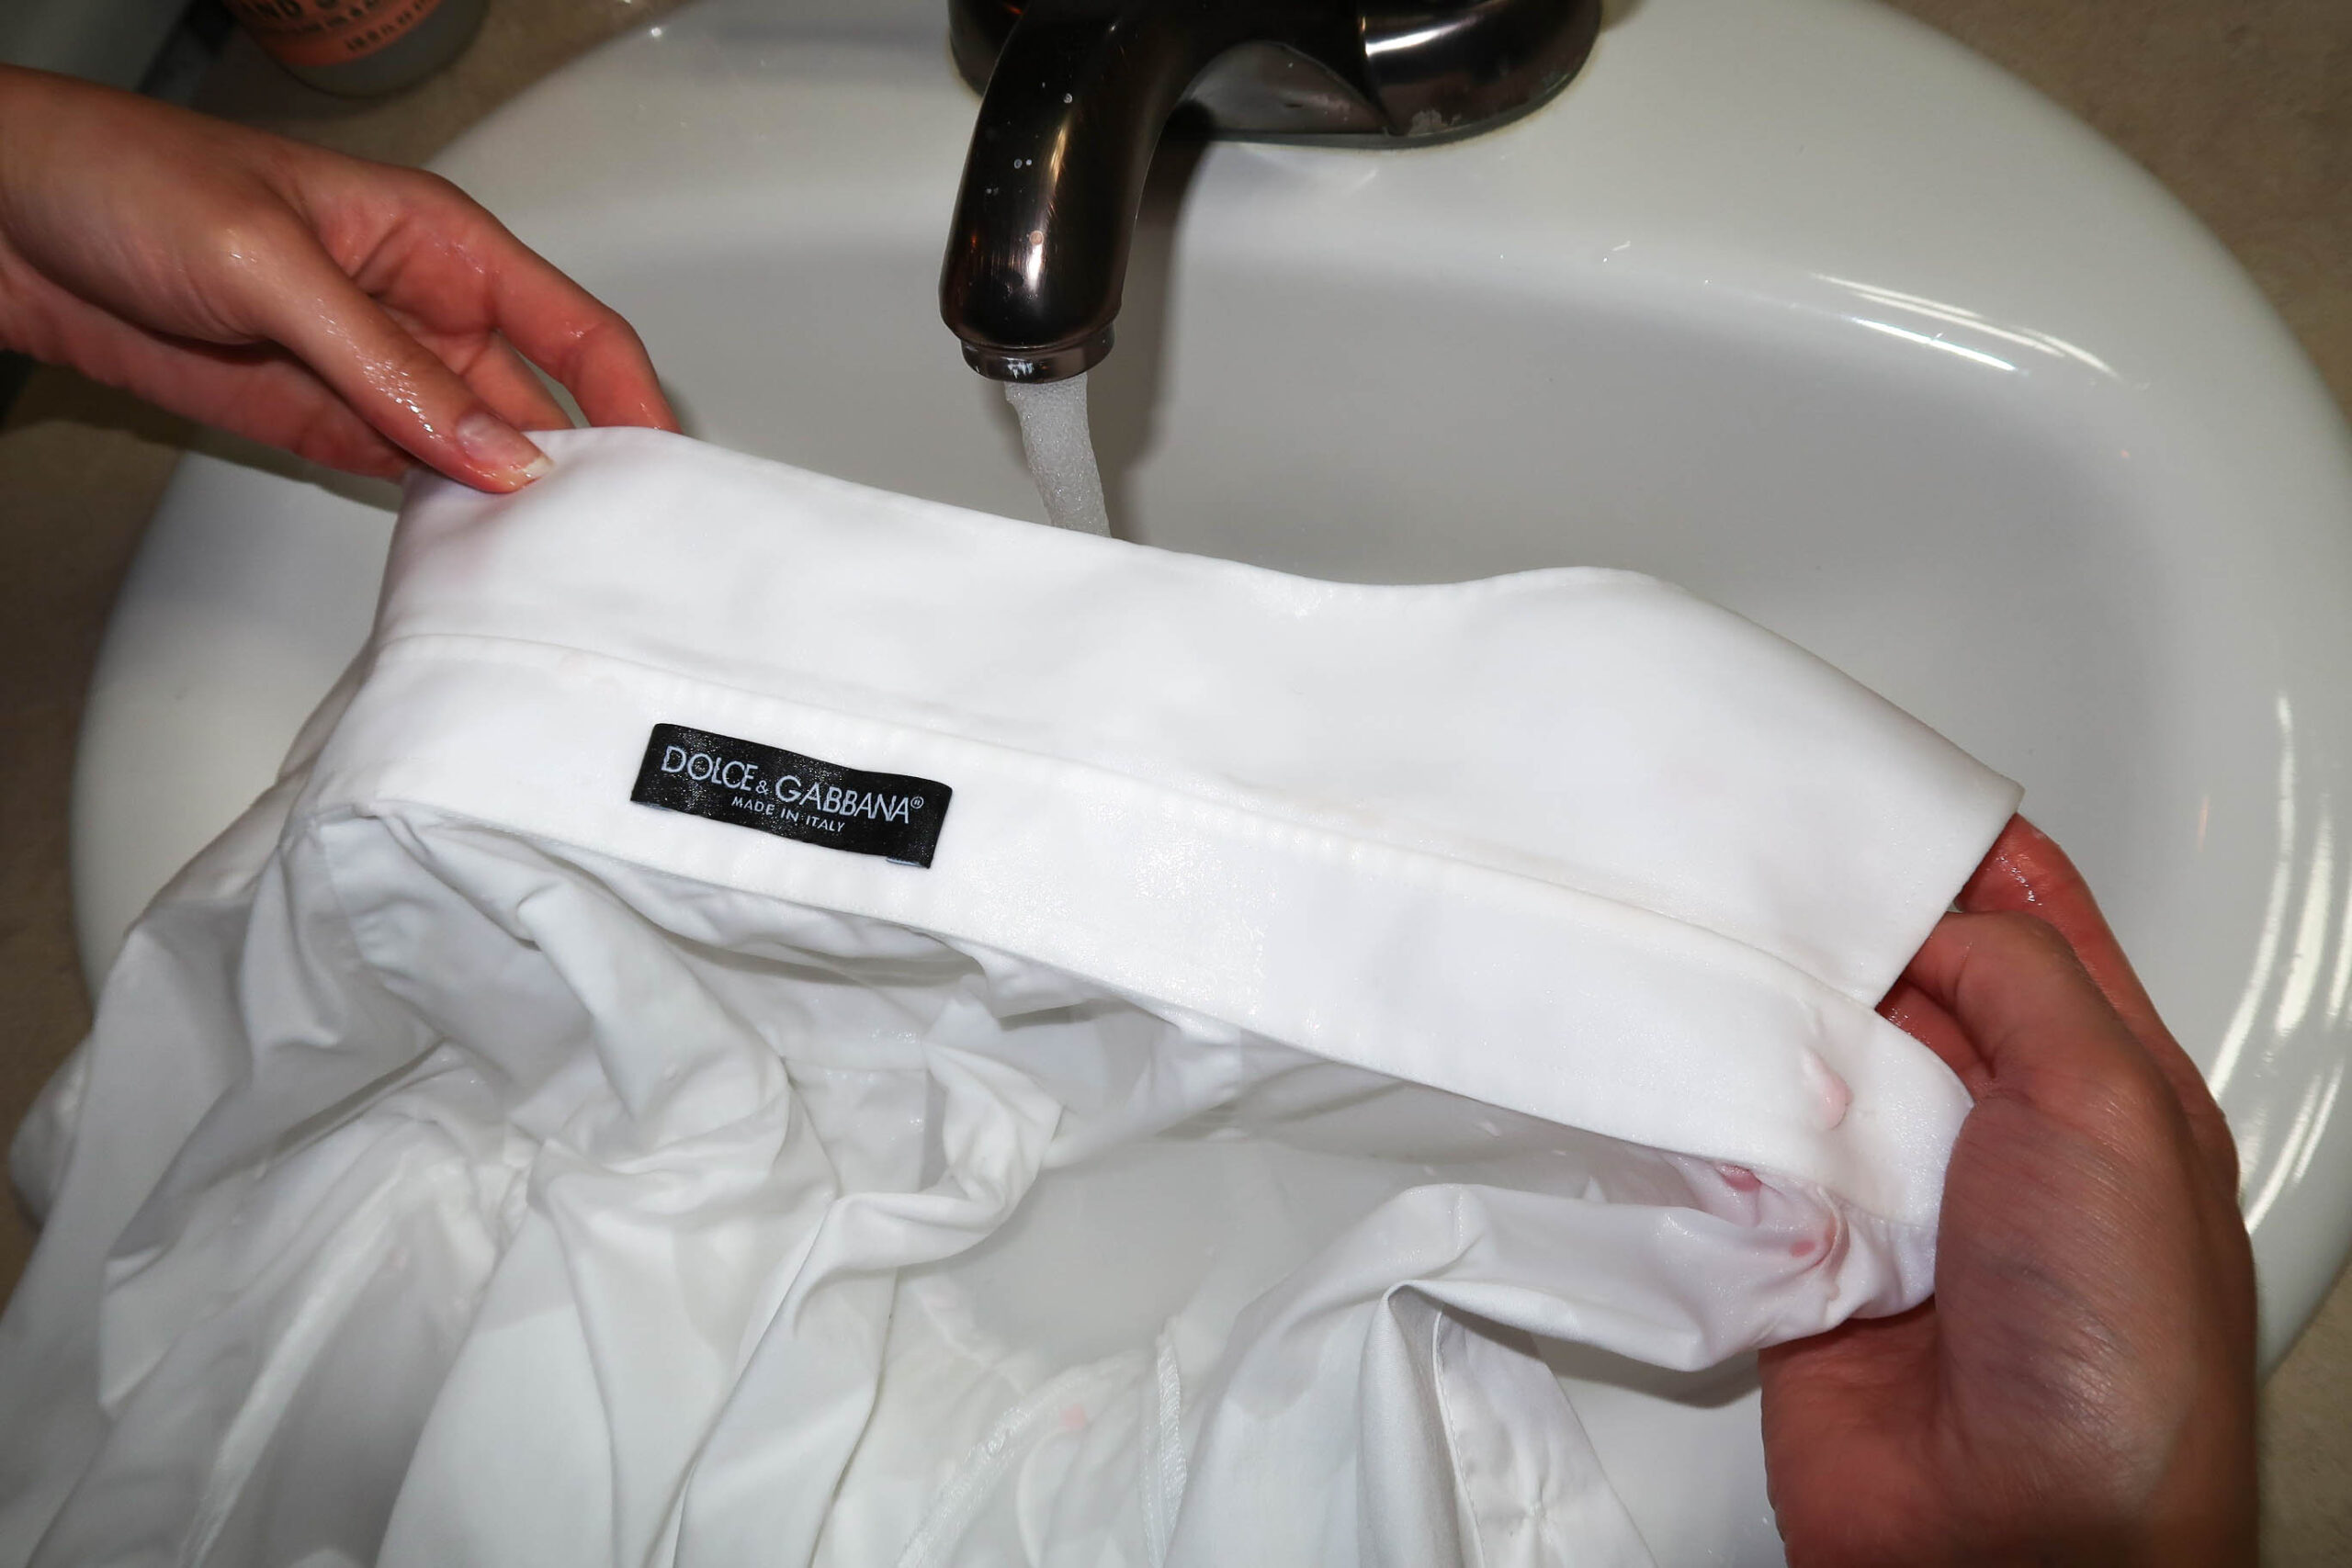
STEP 2:
Rub together the stain as if you are rubbing your hands together to make them warm. I did this while having cold water run over the stain area.

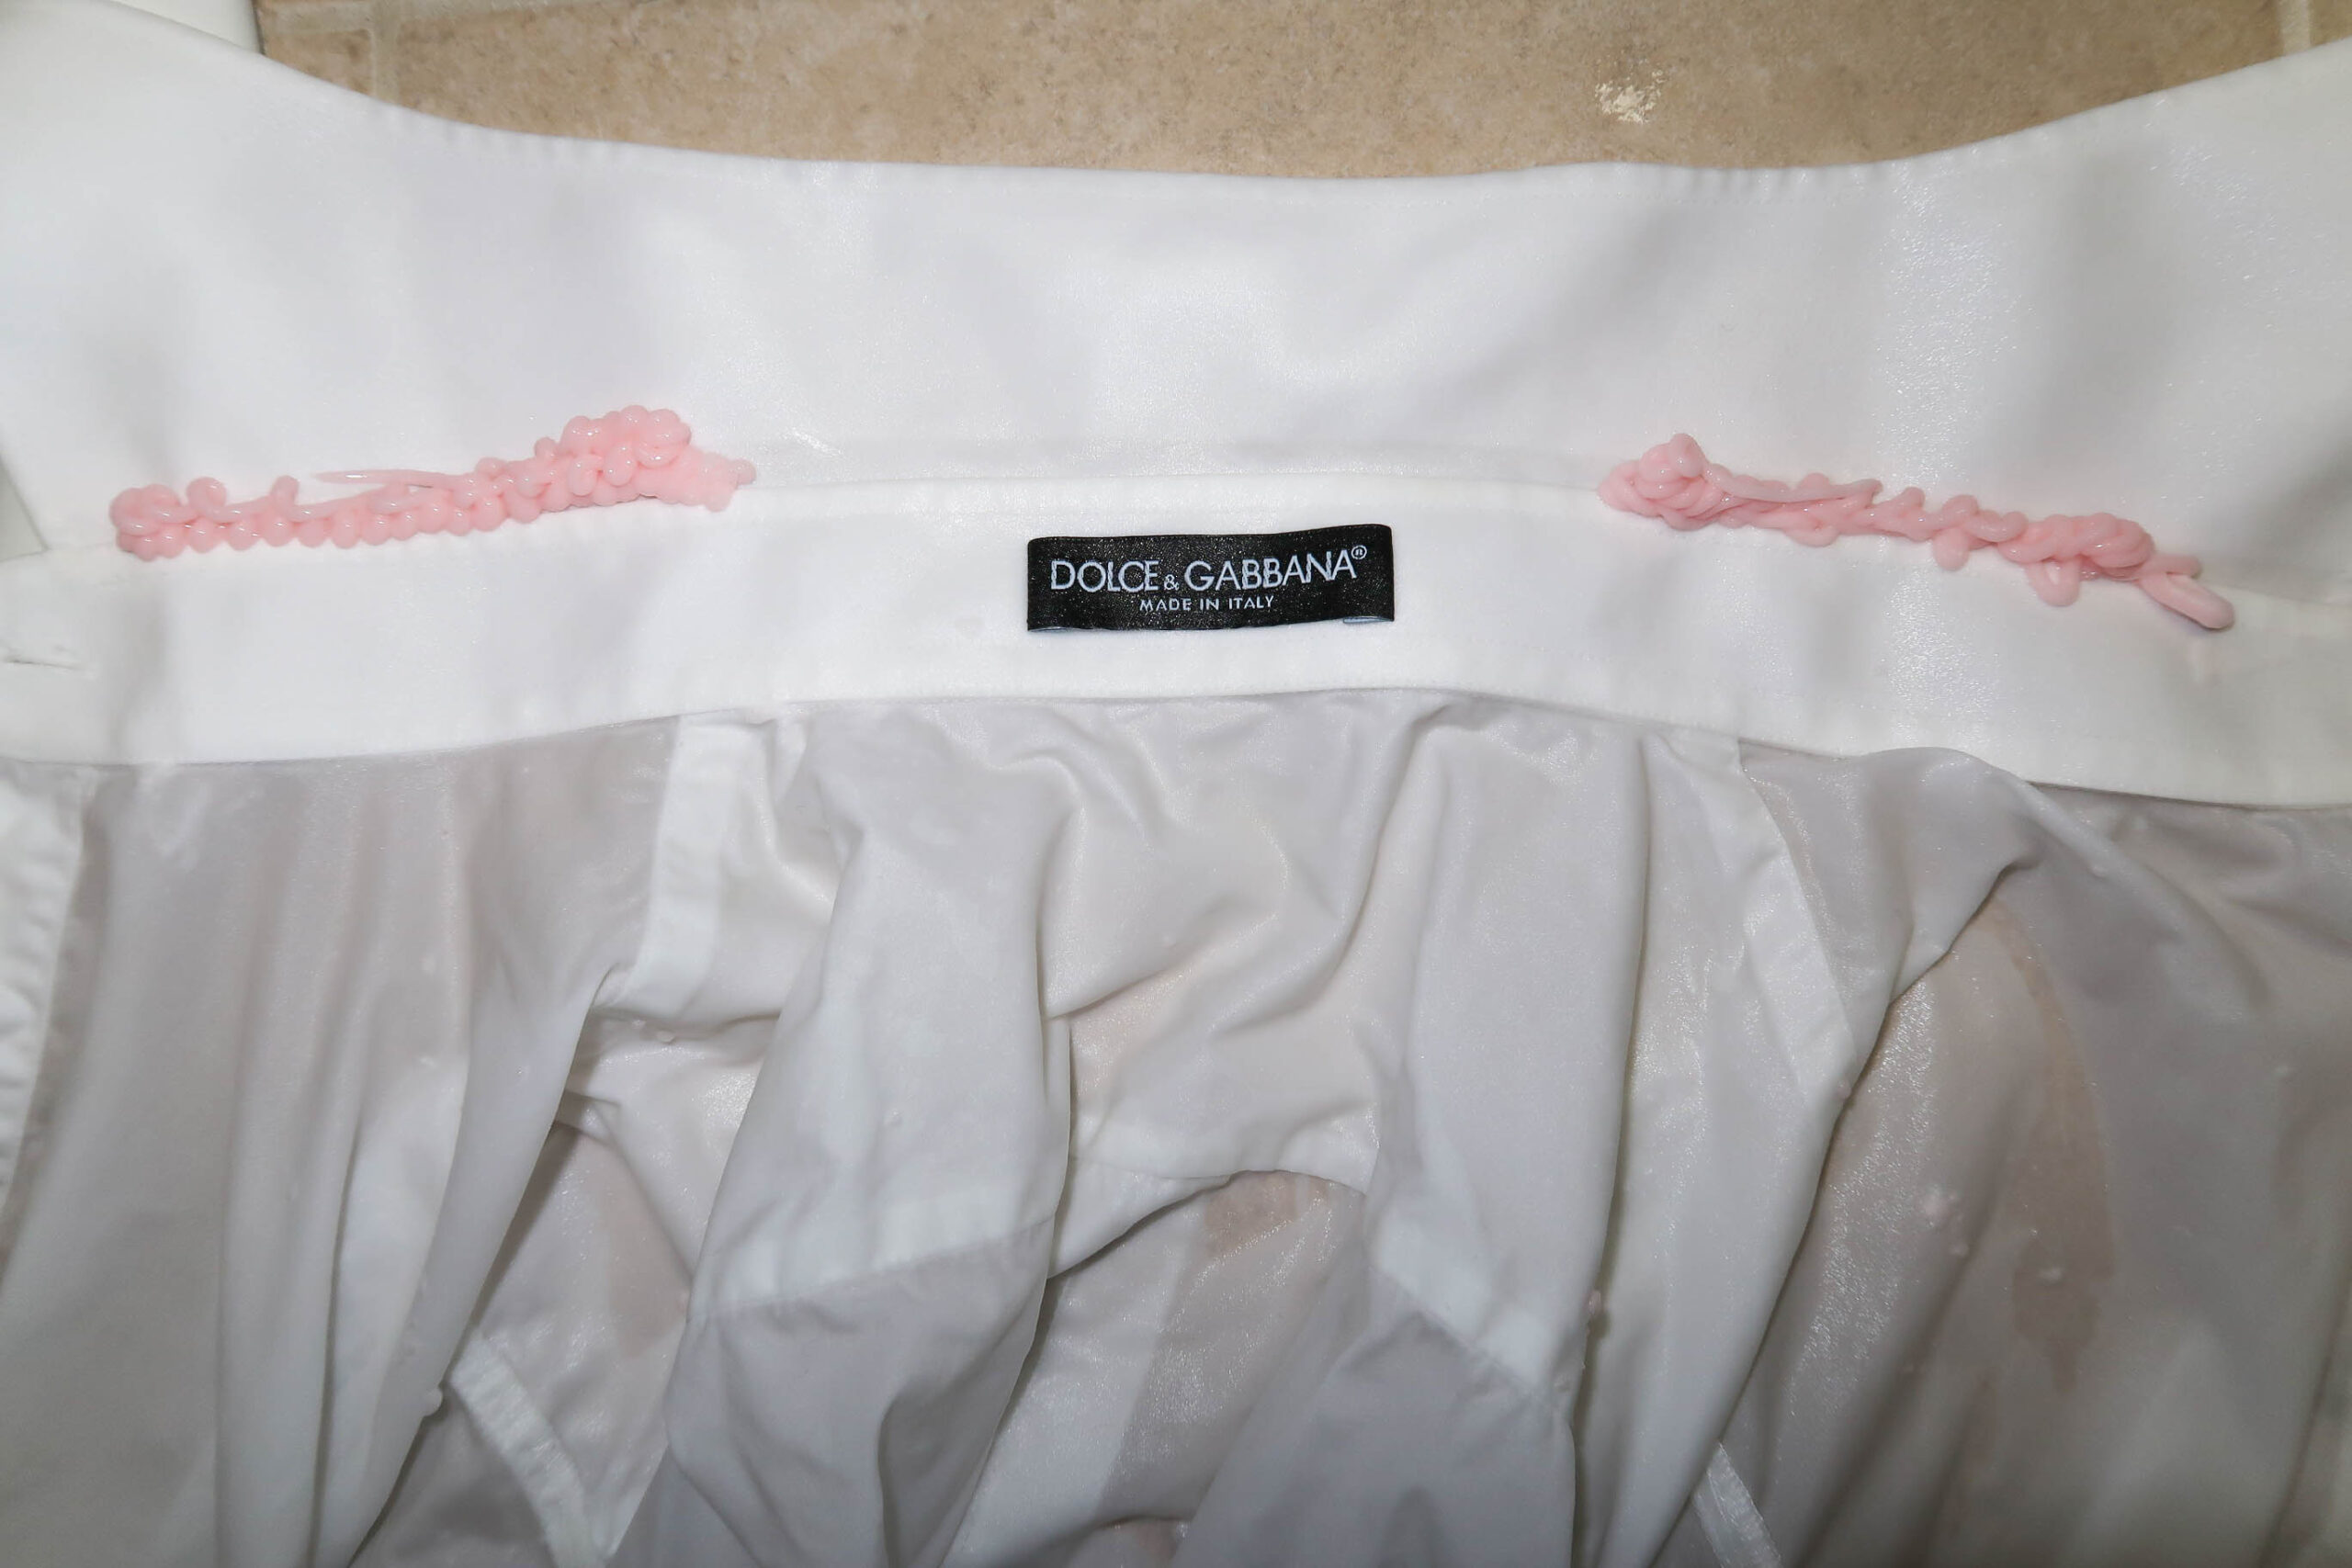
STEP 3:
If I see there is still light stain marks that didn’t go away, I repeat step 1 and 2 as many times necessary. In this picture below, there looks to be a slight left over color so I decided to repeat step 1 and 2 again.
STEP 4:
When repeating step 1, this time around since the stain is less prominent, you won’t have to put as much shaving cream. Let it sit for 2 minutes.
STEP 5:
Rinse in cold water while moving your hands up and down together vertically once more.
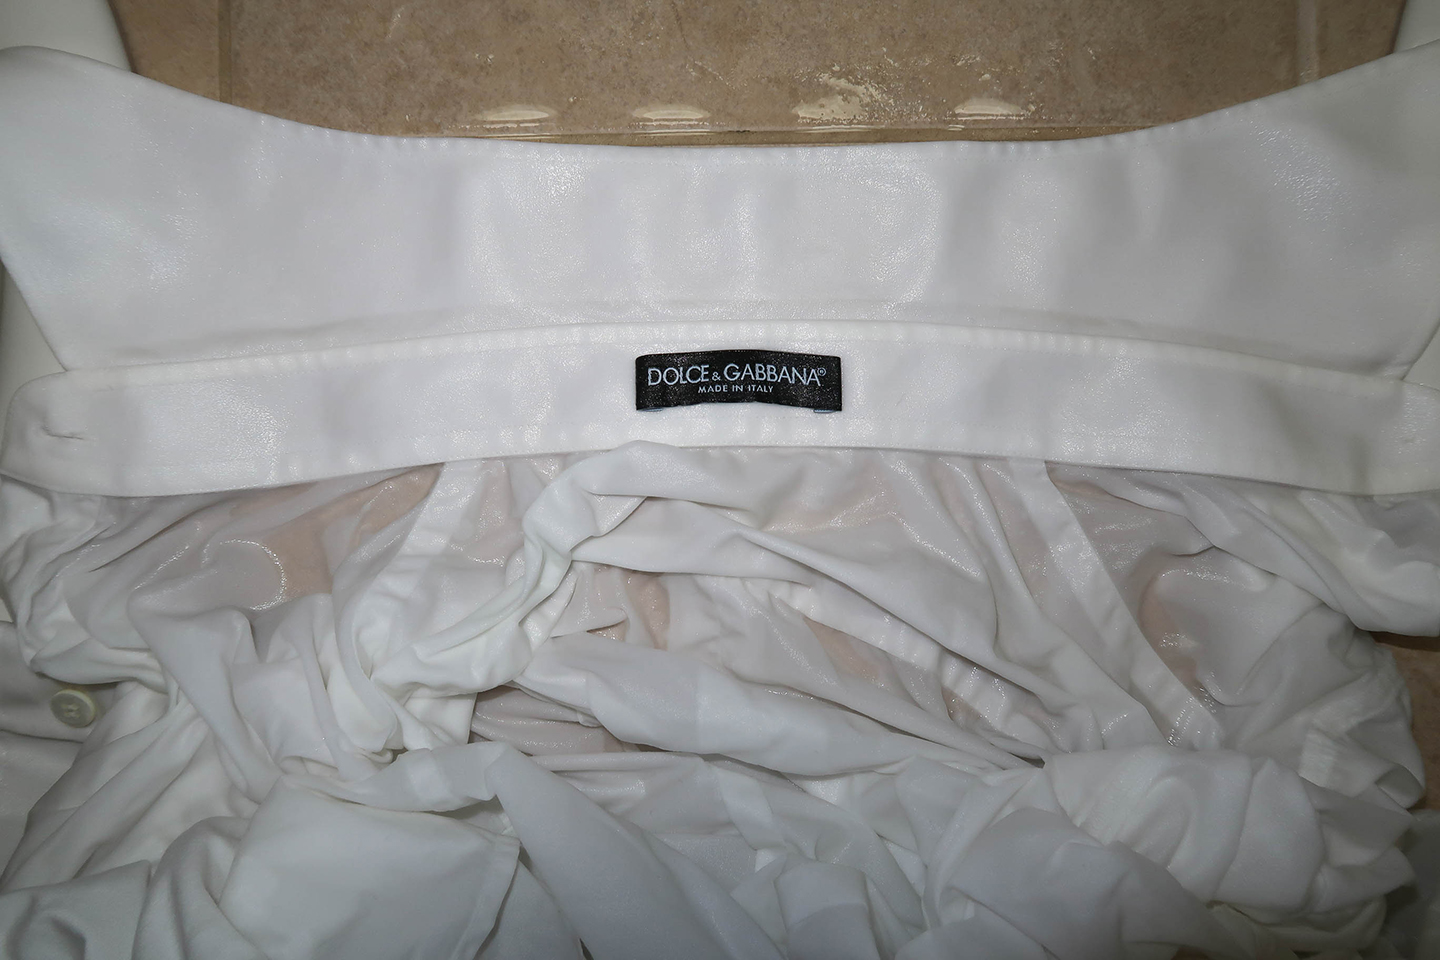
STEP 6:
Now the stains are completely gone, but we are not done just yet! We have to repeat the shaving cream and water process one more time BUT this time with warm water instead of cold.
STEP 7:
Put shaving cream on where the stains were and let sit for 2 minutes. Then, rinse in warm water while rubbing the stained areas up and down (see pictures above if needed in step 1 and 2).
STEP 8:
Now this last step my mom informed me to do since it is a white top that can’t be dry cleaned or machine washed. I would recommend wearing gloves for this step (I didn’t have any at the time when the photos were taken). What I do is I fill up a tub with cold water and then put Oxi Clean in the spots where the stains were.
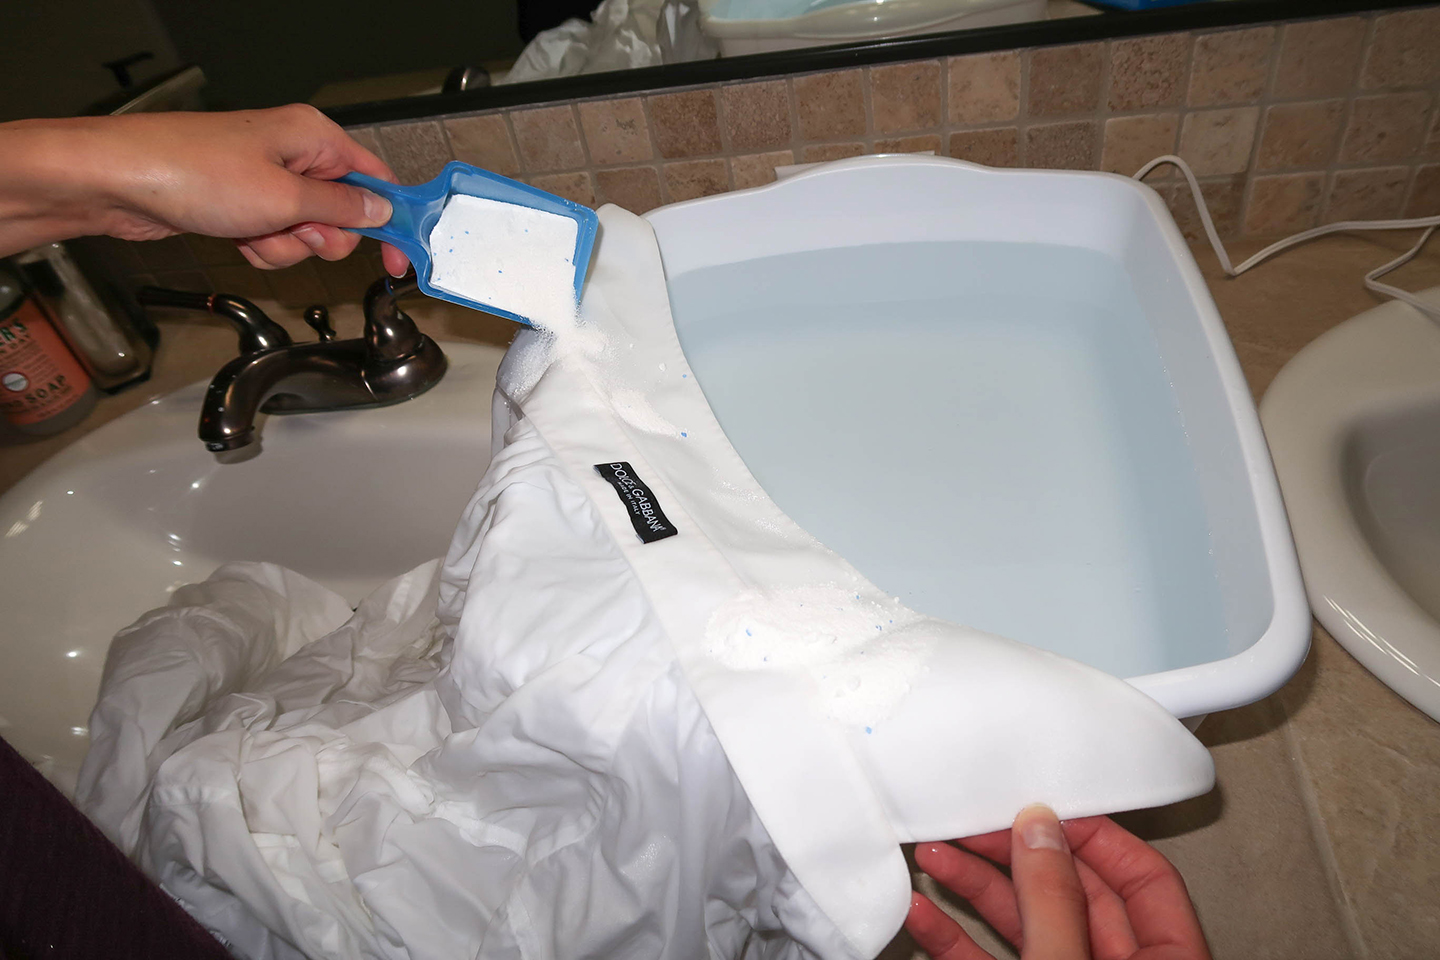
Then, I put the whole top in the cold-water filled tub. Once the top is submerged I add some Oxi Clean on top to help clean the whole top.
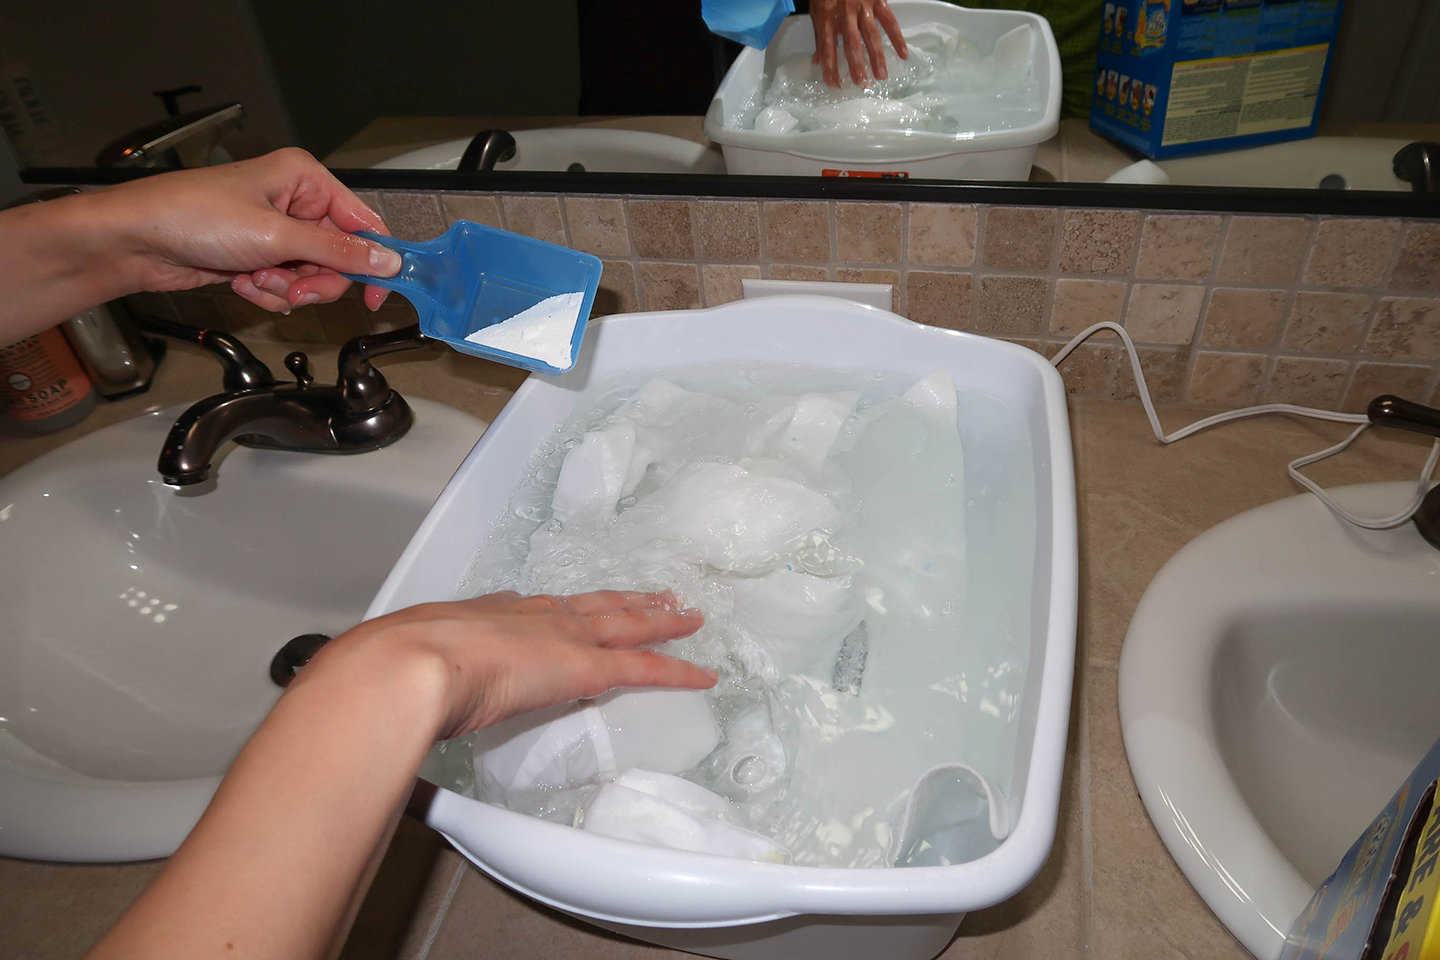
After that, just let it sit for a day in the tub to soak. Once that time has gone by you drain the tub, and then wash the top with cold water to rinse out the Oxi Clean residue from it. And then, you must squeeze the excess water out of the top gently. Lastly, let the top hang to dry. Once dried you can steam/iron it and then you’re done!
This is definitely more work than just throwing your shirt in the wash or going to the dry cleaners, but it is worth it. Clothing doesn’t always have one quick fix, so it is important to be patient. This is especially true in today’s world where many throw their clothing away instead of trying to fix it.
And one last quick story: When I was overseas I accidentally marked my favorite jeans with a pen. I was devastated. I quickly looked online for a solution and found that pouring 100% alcohol on the stain and rubbing it together vertically would make it disappear. I found alcohol in my aunt’s house and quickly went to work. I’m happy to say the pen mark went instantly away! In the future I think I will cover more how to get rid of different types of stains on this blog.
I hope this information helped you all, and I’m sorry for the delay in posting!
Pollá efcharistó xoxo
Nadine

Thank you for sharing this information!!
Love the info!!!!
Wow to shaving cream!!! I usually use the oxy clean and rub. But now I know to do both 🙂
This information is so surprising! I would have never thought to do these steps like this. I will keep this post in the vault and bring it out every time I stain a garmet I love. This can potentially save my wardrobe. Thanks, Nadine🙏🏼
Thank you for sharing your info. I really appreciate your efforts and I will be waiting for your next write ups thanks once again. Phil Elsworth Stuppy